How to change your AirTag battery
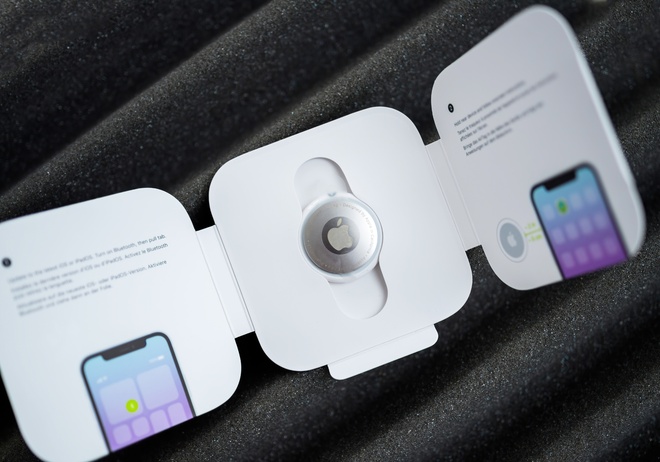
The Apple AirTag is a handy tool designed to help users track personal items such as keys, bags, and wallets through the "Find My" app on iOS devices. The AirTag's reliability and accuracy depend significantly on its battery health. Maintaining and replacing the battery is essential to ensure its longevity and functionality. This article provides a comprehensive guide on checking and replacing the AirTag battery to maintain its optimal performance.

Reading time : 3 min
CONTENTS
AirTag technology and the choice of a non-rechargeable battery

The Apple AirTag uses sophisticated tracking technology that relies on a non-rechargeable CR2032 coin cell battery. This choice brings several advantages, including a compact design and a water-resistant casing that reduces the risk of internal damage. The non-rechargeable battery design also simplifies the device's maintenance and usability, as CR2032 batteries are widely available and can be replaced by users without requiring specialized services.
Why a non-rechargeable battery?
The decision to use a non-rechargeable battery provides several practical benefits. First, it allows for a compact design that protects the AirTag's internal components. Additionally, it eliminates the need for a charging port, preserving the device's waterproofing.
CR2032 batteries are also easy to find and allow users to replace the battery themselves, promoting long-term usability and eliminating the need for external power sources.
User implications
For users, this design requires periodic manual intervention to replace the battery, but offers the advantage of extended device lifespan without the wear and tear associated with rechargeable batteries. The AirTag's design choice emphasizes ease of use and durability, while users are responsible for monitoring and maintaining the battery for optimal functionality.
Things to check before buying a GPS
18 questions you need to ask yourself before buying a GPS tracker for your loved ones!
Checking your AirTag's battery life

The AirTag has built-in mechanisms to alert users when its battery is low and requires replacement.
How to know when to replace the battery?
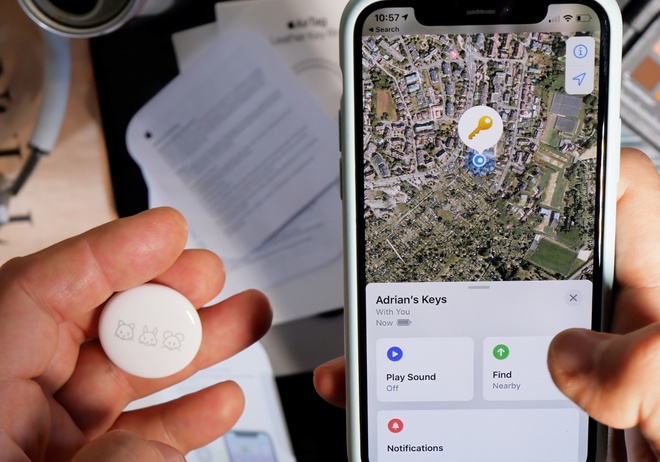
The AirTag communicates with users by sending a notification to their iPhone or iPad through the "Find My" app when its battery is low. Users can also manually check the battery level by opening the "Find My" app, selecting the "Items" tab, and choosing their AirTag. The battery level will appear alongside the device, indicating its status.
Estimated battery life
The AirTag's CR2032 battery is designed to last around a year under normal usage conditions. However, this may vary depending on the frequency of tracking and the intensity of usage. Regular checks and straightforward replacement ensure the device's functionality and effectiveness.
Steps to change your AirTag battery

Replacing the AirTag's battery is a simple process that users can complete in a few straightforward steps.
Selecting the right battery
The AirTag uses a CR2032 coin cell (3V), widely available in retail stores. To ensure quality and safety, it is recommended to choose batteries from reputable brands. This minimizes the risk of malfunction and ensures the device's long-term functionality.
Battery replacement process
To replace the battery, start by preparing a clean and clear workspace to prevent losing the small battery, which can easily roll away or get misplaced. Hold the AirTag with its front facing you and gently press and twist the back cover counterclockwise until it detaches, revealing the internal compartment that houses the battery. Carefully remove the old battery without touching other internal components to prevent damage to the delicate electronics inside. Dispose of the battery responsibly, following local recycling regulations, and keep it out of reach of children and pets.
Insert the new CR2032 battery in the compartment with the positive side (+) facing up to ensure it connects correctly to power the AirTag. Finally, align the cover's notches with those on the AirTag, then press and twist clockwise to lock it in place securely. Make sure the cover is tightly closed to protect the AirTag's internal components and retain its waterproofing. After replacing the battery, the AirTag should be operational and ready for use.
Conclusion
Maintaining your AirTag's battery health is essential to its performance and reliability. Following these steps for checking and replacing the battery ensures the device's continued functionality. For more insights and recommendations on tracking technologies, including pet tracking solutions offered by Weenect, explore our blog. Our goal is to help you make the most of GPS trackers for a secure and simplified daily life.
Read more about our guide
This article is part of a complete guide on the subject. Don't miss the other chapters.
Are you looking for the best GPS tracker ?
18 questions you need to ask yourself before buying a GPS tracker
